

To add Afterpay to WooCommerce, apply for an Afterpay merchant account, then either install the official Afterpay Gateway for WooCommerce plugin or turn on Afterpay as a payment method in Stripe. Add Afterpay messaging to your product pages and cart, test an order in sandbox mode, then switch to live.
Customers pay in four instalments while you are paid upfront, less Afterpay's fee. Here is how to set it up properly.
Is Afterpay right for your store?
Afterpay works best when customers spend enough that splitting the cost matters, and when your audience already uses it. Fashion, beauty, homewares, fitness and gifts are common examples. If your products are low priced or sold to businesses, it may add cost without adding sales.
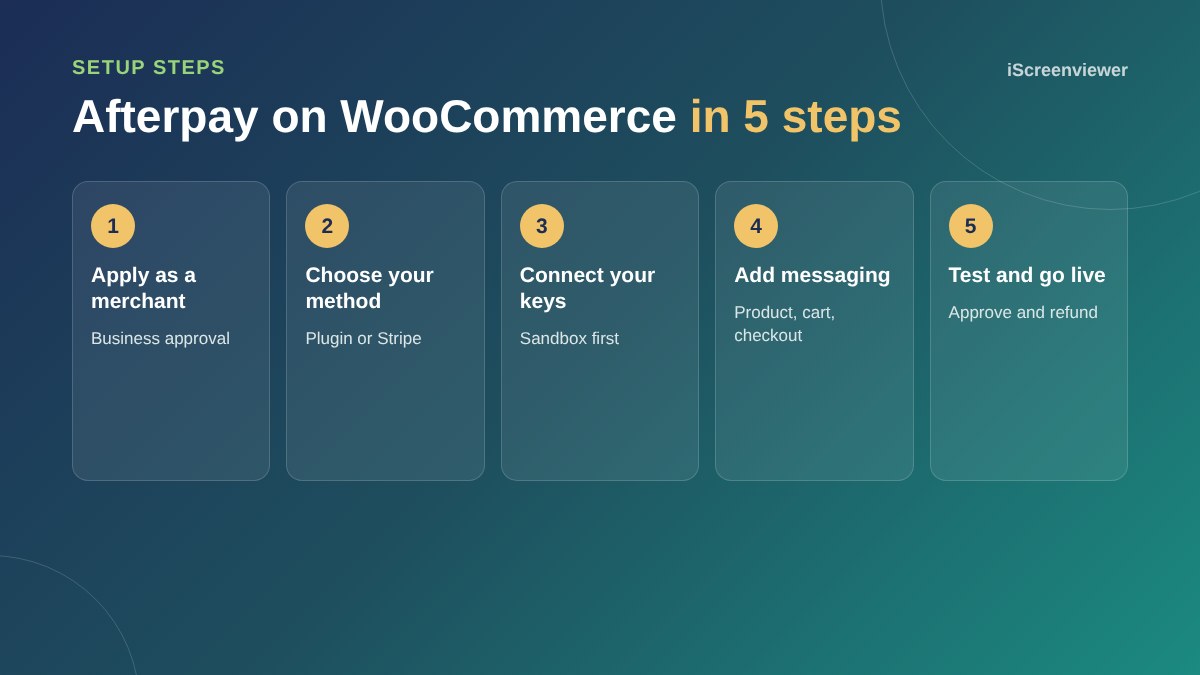
Step 1. Apply for a merchant account
Apply on Afterpay's business website with your ABN, website and business details. Afterpay reviews your store, so make sure your shipping, returns and contact pages are live before you apply.
Step 2. Choose the plugin or Stripe
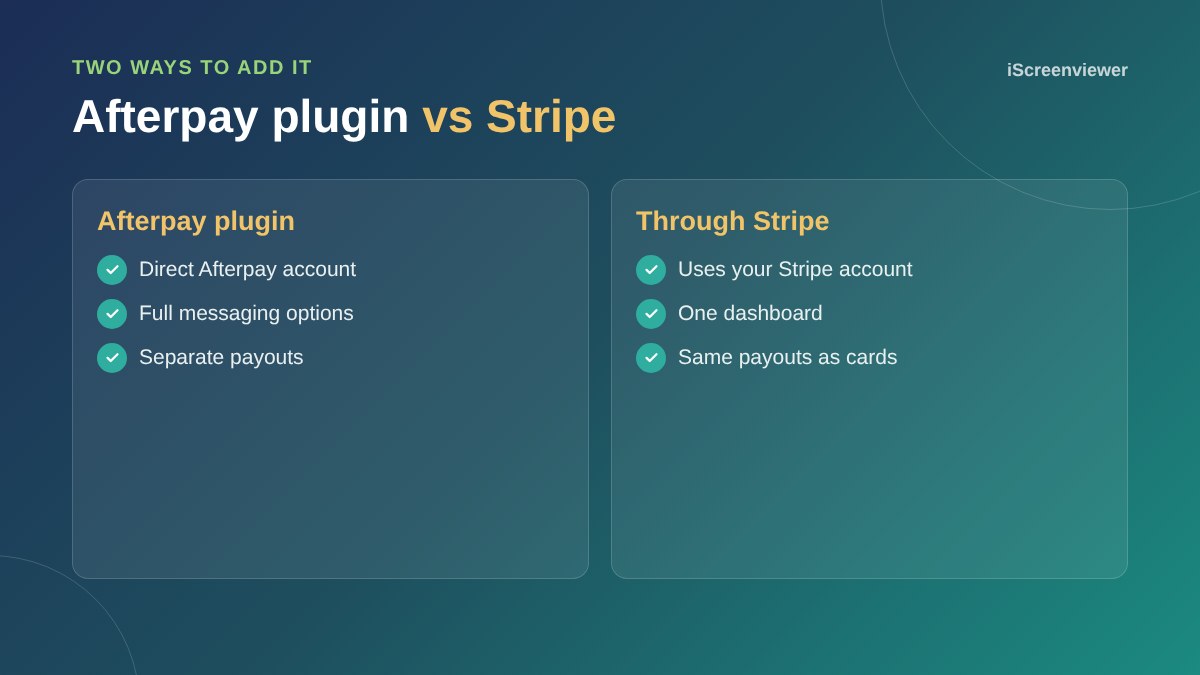
The official plugin connects directly to your Afterpay account and gives you the most control over messaging. If you already use Stripe, you can switch on Afterpay inside Stripe instead, which keeps all payments in one dashboard.
Step 3. Connect and test
Add your sandbox credentials first, place a test order and check it reaches the right order status. Then add your live credentials.
Step 4. Add messaging
Showing the instalment amount under your price, for example four payments of $25, is what makes Afterpay work. Turn on messaging for product pages, the cart and checkout. Keep it subtle so it does not compete with your Add to cart button.
Step 5. Check limits and refunds
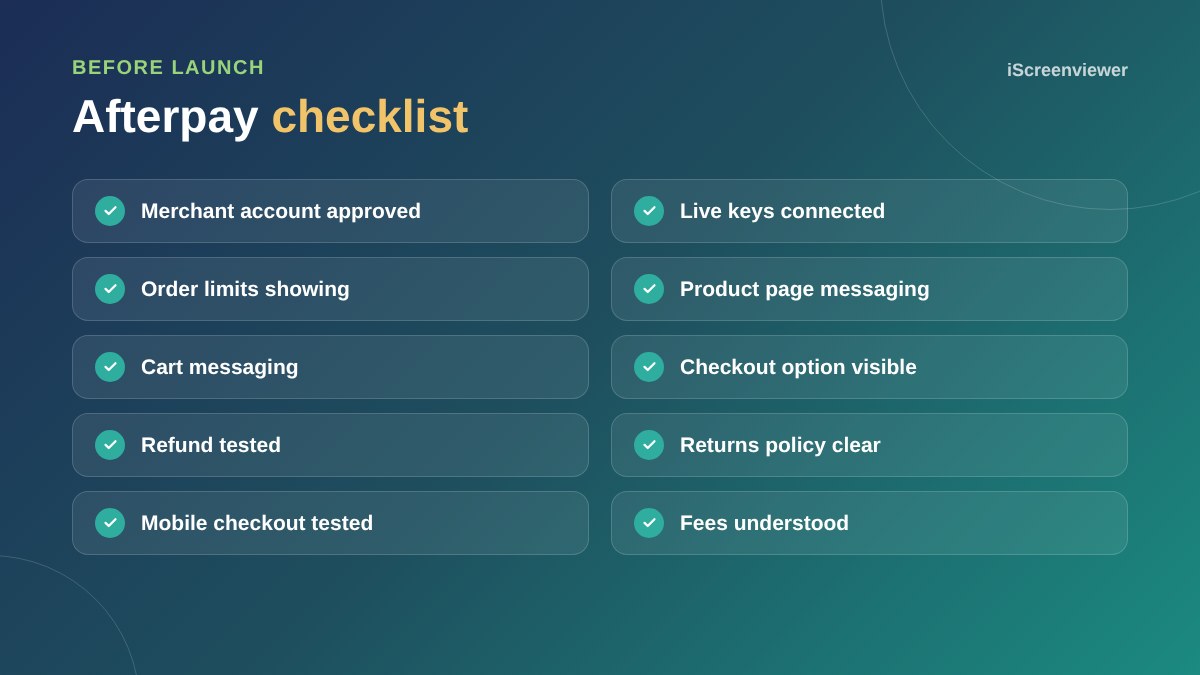
Afterpay sets minimum and maximum order amounts for your account. Make sure the payment option only shows within those limits, then test a refund so you know how it flows back to the customer.
Related guides
Compare all the options in best WooCommerce payment gateways in Australia, or start with how to set up WooCommerce.
Where to place Afterpay messaging
Messaging works best close to the price on product pages, in the cart summary and as a clear option at checkout. Avoid adding banners across the whole site, as too many payment logos can make a store feel cluttered. One line under the price is usually enough to remind customers the option exists.
Returns and refunds with Afterpay
When you refund an Afterpay order from WooCommerce, the refund is sent to Afterpay, which adjusts the customer's remaining instalments or refunds what they have paid. Make sure your returns policy is clear and that staff know to process refunds through WooCommerce rather than outside it, so records stay accurate.
Common setup problems
- Afterpay not showing because the cart total is outside your limits
- Sandbox keys left connected after launch
- Messaging showing the wrong instalment amount because prices exclude GST
- Theme conflicts hiding the messaging on mobile
- Caching plugins serving old payment options
Want Afterpay set up for you?
Afterpay, Stripe and PayPal are all included in the WooCommerce Store Setup and Styling package.
Frequently asked questions
Does Afterpay work with WooCommerce?
Yes. You can use the official Afterpay Gateway for WooCommerce plugin, or enable Afterpay through Stripe in Australia.
How much does Afterpay cost merchants?
Afterpay charges merchants a fee on each order. Rates depend on your agreement, so check with Afterpay when you apply.
Do I get paid upfront with Afterpay?
Yes. Afterpay pays you for the order, less its fee, and collects the instalments from the customer.
Can I add Afterpay without a separate plugin?
If you use Stripe in Australia, you can turn on Afterpay as a payment method in Stripe.
Why is Afterpay not showing at checkout?
Common reasons are an order total outside your Afterpay limits, a currency mismatch, sandbox keys still connected or the payment method switched off.
Should I show Afterpay messaging on product pages?
Yes. Showing the instalment amount near the price is what encourages customers to use it.