

WooCommerce is the easiest way to turn a WordPress website into an online store. To set it up, you install the free WooCommerce plugin, add your store details, connect a payment gateway, set up GST and shipping, add your products, style the shop to match your brand and test a few orders before you launch.
Each of those steps has settings that are easy to get wrong, and small mistakes can cost you sales, such as a checkout that does not show GST correctly or shipping rates that do not cover your costs. This guide walks you through a WooCommerce setup step by step, in the order I use when setting up stores for small businesses.
What you need before you start
- A WordPress website on reliable hosting with an SSL certificate, so your site loads over https
- Admin access to your WordPress website
- Your business details: trading name, address, ABN and whether you are registered for GST
- A payment account, such as Stripe or PayPal, or the details to open one
- Your products: names, prices, descriptions, images and any options like size or colour
- Your shipping rates, plus your refund, shipping, privacy and terms wording
Take a full backup of your website before you install anything. If something conflicts with your theme or another plugin, you can roll back in minutes.
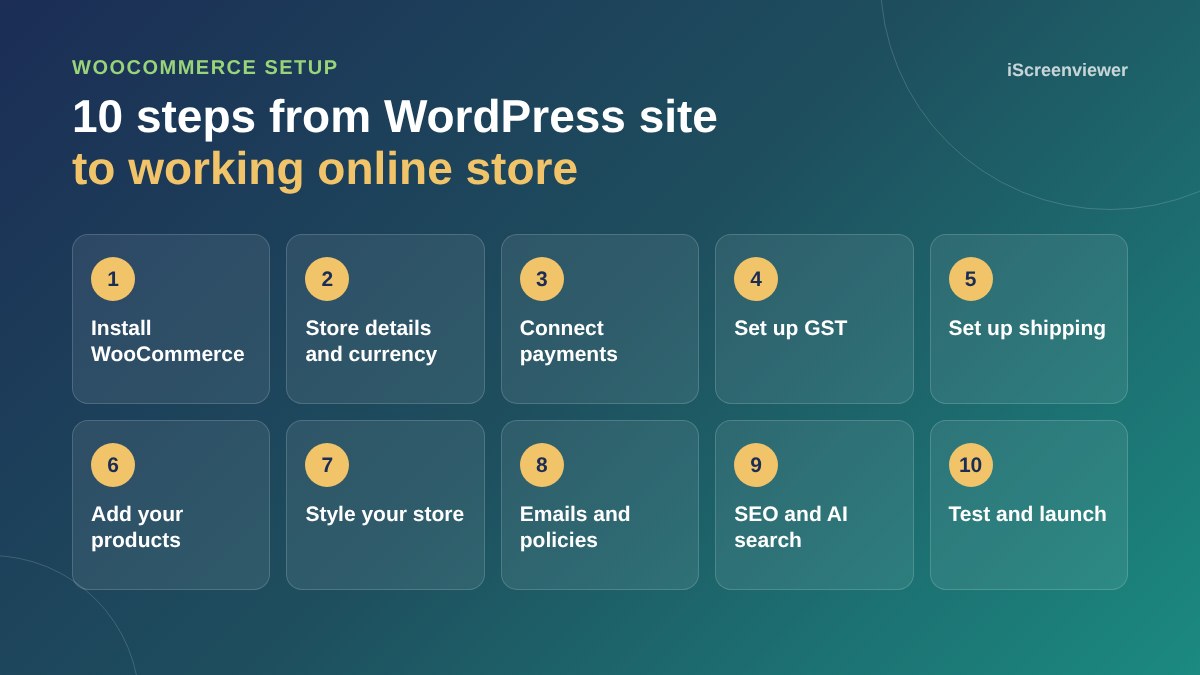
Step 1. Install WooCommerce
In your WordPress dashboard, go to Plugins > Add New, search for WooCommerce, then install and activate it. WooCommerce creates the Shop, Cart, Checkout and My Account pages for you and opens a short setup checklist under WooCommerce > Home.
The checklist suggests a lot of extra plugins along the way. Only install what you actually need. Every extra plugin is one more thing to update and one more thing that can slow your site down.
Step 2. Set your store details and currency
Go to WooCommerce > Settings > General and check these settings:
- Store address: your business address, used for tax and shipping calculations
- Selling locations: the countries you sell to, so customers outside them cannot check out
- Shipping locations: where you ship, which can differ from where you sell
- Currency: Australian dollar (AUD) for Australian stores, with the number format customers expect
- Enable taxes: turn this on if you are registered for GST
Step 3. Connect payments
Payments are where your money comes in, so set them up carefully. Go to WooCommerce > Settings > Payments and choose a gateway. For most Australian small businesses, one of these is a good start:
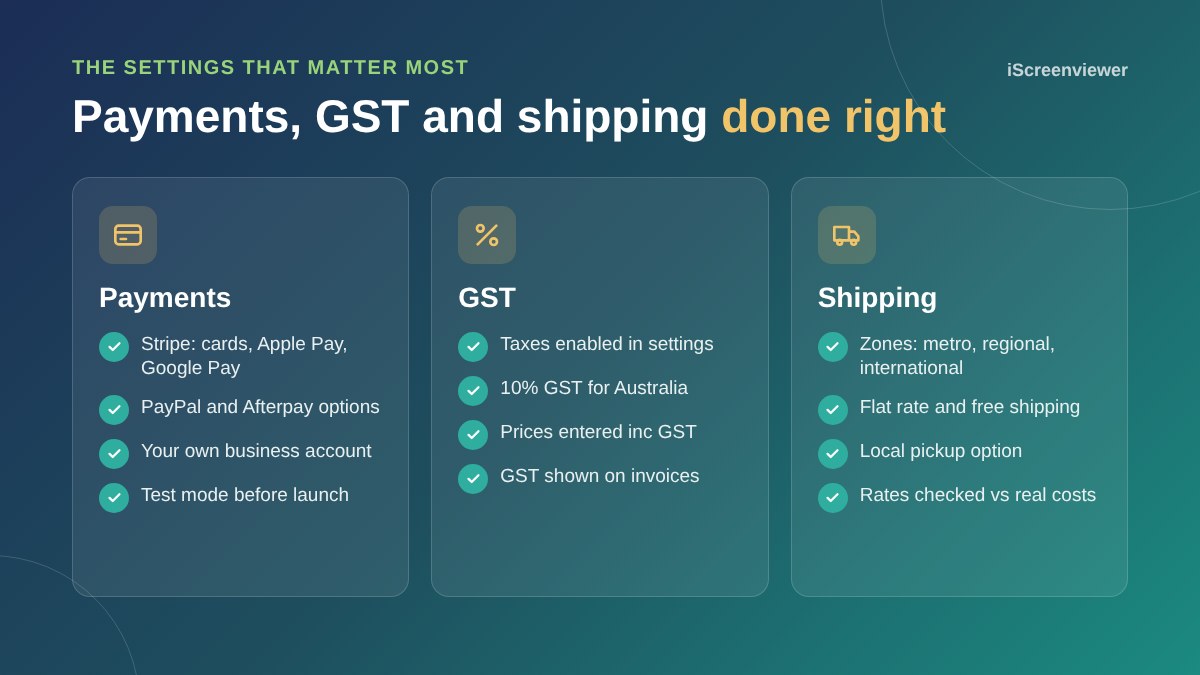
- Stripe: takes cards, Apple Pay and Google Pay, with payouts to your Australian bank account
- PayPal: useful for customers who prefer not to enter card details
- Afterpay: lets customers pay in four instalments, which can lift the average order value
Connect the gateway to your own business account, not a developer or agency account, so payouts and reports belong to you. Turn on test mode while you are setting up, then switch to live mode once your test orders work.
Step 4. Set up GST and tax
If you are registered for GST, go to WooCommerce > Settings > Tax. Choose whether you enter prices including or excluding GST. Most Australian stores enter prices including GST, because that is the price customers see and expect.
Then add a standard rate for Australia of 10%, named GST. If you sell overseas, customers outside Australia can usually be charged 0%. Make sure your tax invoices and order emails show GST clearly, and confirm the right settings for your business with your accountant.
Step 5. Set up shipping, or skip it for digital products
Go to WooCommerce > Settings > Shipping and create shipping zones, such as Metro, Regional Australia and International. Each zone can have its own methods:
- Flat rate: a fixed price per order or per item
- Free shipping: often used above a minimum order value to encourage bigger orders
- Local pickup: for customers who can collect from your shop or warehouse
Check your rates against real postage costs for your heaviest and bulkiest products. If you only sell services or digital products, mark each product as virtual and customers will not be asked for a shipping address.
Step 6. Add your products
Go to Products > Add New. Use a simple product for an item with one price, and a variable product when customers choose options like size or colour, each with its own price, stock and SKU.
For every product, add a clear name, a regular price, a short description that answers the key buying questions, a longer description, a category and high-quality images. Write descriptive alt text for each image. Our product listing SEO guide covers how to write product pages that rank and convert.
Step 7. Style your store to match your brand
A default WooCommerce store looks like every other default WooCommerce store. Styling your shop is what makes it feel trustworthy and part of your business. Focus on these pages:
- Shop and category pages: consistent product image sizes, clear prices and an obvious path to each product
- Product pages: large images, price, key benefits and a clear Add to cart button above the fold on mobile
- Cart and checkout: your brand colours and fonts, as few fields as possible and visible trust signals like secure payment and returns information
- My Account: simple order history and address details for returning customers
Keep your styling scoped to the store pages so it does not affect the rest of your website, and test every page on a real phone. Most online shoppers will see your store on mobile first.
Step 8. Set up store emails and policies
Go to WooCommerce > Settings > Emails and add your logo, brand colours and footer text. Check that the new order, processing and completed emails read well and include your contact details.
Add your refund, shipping, privacy and terms pages, and link them at checkout. Your refund policy should line up with your obligations under the Australian Consumer Law.
Step 9. Get your store found on Google and in AI search
A store nobody finds does not sell. Before launch, give every product and category a unique meta title and description, keep product URLs short and readable, and make sure product schema is in place so Google can show price and availability in search results.
Clear, factual product descriptions and FAQs also help AI search tools understand and recommend your products. When your store is live, connect it to Google Search Console and consider Google Merchant Center so your products can appear in free Google Shopping listings.
Step 10. Test everything before you launch
Place real test orders before you switch your store on. Use your payment gateway in test mode first, then make one small live purchase and refund it. Check that:
- Payments go through and appear in your payment account
- GST and shipping are calculated correctly for each zone
- Order emails reach both you and the customer
- Stock levels update after each order
- Coupon codes, if you use them, apply correctly
- Checkout works on mobile, tablet and desktop
A quick WooCommerce launch checklist
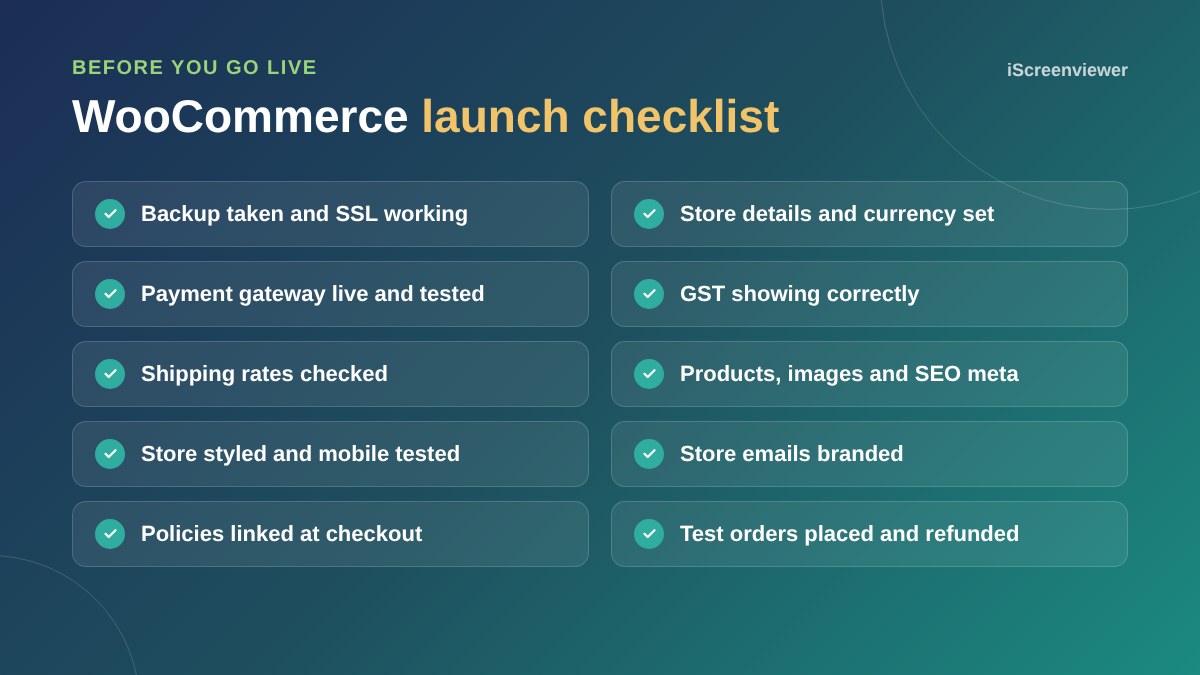
- Backup taken and SSL working
- Store address, currency and selling locations set
- Payment gateway live and tested
- GST rates set and showing correctly
- Shipping zones and rates checked against real costs
- Products added with images, alt text and SEO meta
- Shop, product, cart and checkout pages styled and tested on mobile
- Store emails branded
- Refund, shipping, privacy and terms pages linked
- Test orders placed and refunded
Common WooCommerce setup mistakes
- Too many plugins: installing every suggested extension slows the site and adds update work
- Prices that do not match GST settings: entering prices excluding GST while customers expect GST-inclusive prices
- Shipping rates that lose money: flat rates that do not cover bulky items or regional delivery
- Payments on the wrong account: a gateway connected to a developer account instead of the business
- No testing: launching without a full test order, then finding broken emails or checkout errors
- Weak product pages: one blurry image and a single line of text, which hurts both sales and SEO
Still deciding on a platform? Read Shopify vs WooCommerce for Australian businesses before you start.
Want your WooCommerce store set up for you?
If you would rather spend your time on your business, the WooCommerce Store Setup and Styling package covers everything in this guide for a fixed price: WooCommerce installed and configured, payments, GST and shipping, up to 10 products added, your store styled to match your brand and test orders completed before launch.
Frequently asked questions
How long does it take to set up WooCommerce?
A basic WooCommerce store with a handful of products, payments, GST and shipping can be set up in a few days. Larger catalogues, custom styling and extra integrations take longer, mostly because of the time needed to prepare product content and images.
Is WooCommerce free?
The WooCommerce plugin is free to install. Your running costs are hosting, payment processing fees, a domain and any paid extensions you choose, such as advanced shipping or subscriptions.
Can I add WooCommerce to my existing WordPress website?
Yes. WooCommerce installs as a plugin on your current WordPress website, so you keep your existing pages, content and Google rankings while adding a shop, cart and checkout.
Which payment gateway should I use with WooCommerce in Australia?
Stripe is a popular choice because it takes cards, Apple Pay and Google Pay in one place and pays out to your Australian bank account. Many stores also add PayPal, and Afterpay if their customers like to pay in instalments.
Do I need to charge GST on my WooCommerce store?
If your business is registered for GST, you generally charge 10% GST to Australian customers. WooCommerce can add GST automatically and show prices including GST. Check the right setup for your business with your accountant.
Should I use WooCommerce or Shopify?
WooCommerce suits businesses that already have a WordPress website and want full control with no monthly platform fee. Shopify suits businesses that want an all-in-one hosted platform. Both work well for small Australian stores.
Related Articles
- Shopify vs WooCommerce: Which Is Better for Australian Small Businesses in 2026?
- How to Write Product Listings That Rank on Google (Shopify and WooCommerce)
- Black Friday Checklist for Shopify and WooCommerce Stores in Australia (2026)
- How Much Do Website Services Cost? 2026 Price Guide for Small Businesses